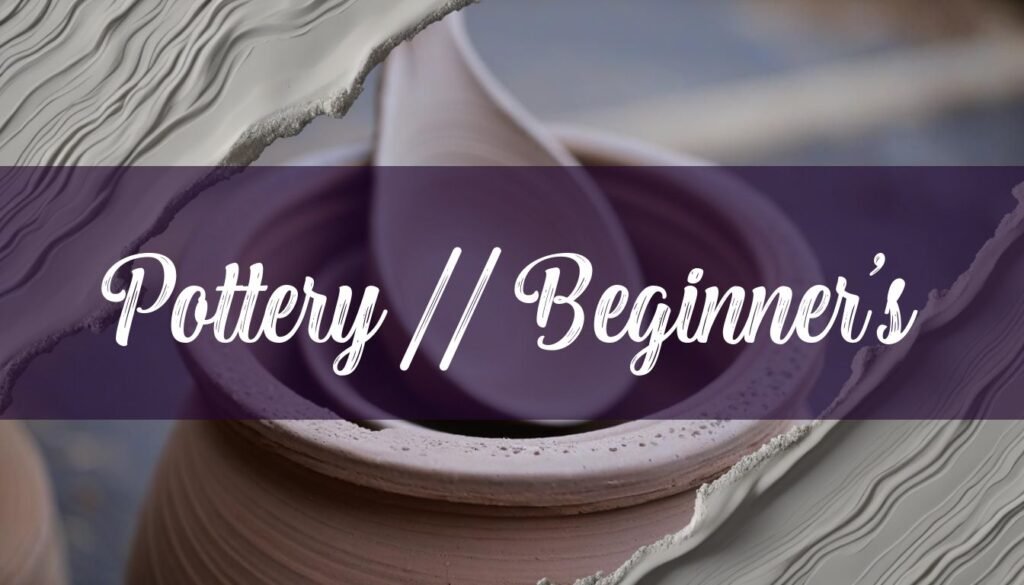
Embarking on the journey of pottery at home can be an incredibly rewarding experience, allowing you to express your creativity and create functional or decorative pieces from the comfort of your own space. To get started, you’ll need to gather some essential equipment and materials. This article will guide you through everything you need to set up your home pottery studio, from the basic tools to the types of clay and safety precautions.
Essential Equipment and Tools
The pottery wheel is often considered the centerpiece of a pottery studio, enabling you to create symmetrical, wheel-thrown pieces. However, if you’re just starting out or prefer hand-building techniques, you can certainly begin without one. For hand-building, focus on mastering techniques like pinch pots, coil building, and slab construction.
Regardless of whether you use a wheel, a variety of hand tools are essential for shaping, smoothing, and decorating your clay. A rib, typically made of wood, rubber, or metal, is used to shape and smooth the clay, especially on the wheel. Wooden ribs are often used for initial shaping, while rubber and metal ribs are ideal for smoothing the clay. Trimming tools, with their wooden handles and ribbon-like metal attachments, are used to remove excess clay, create a foot for stability, or regulate the thickness of the pot’s walls. Sponges are invaluable for smoothing out finger lines, cleaning workspaces, and removing dust. Brushes are used for applying slip when attaching parts of a piece and for applying glazes. A needle tool is useful for trimming, etching, piercing clay, and even signing your pieces. A wire cutter is essential for cutting clay from a larger block, removing pots from the wheel, or creating level rims. Calipers are used to measure the inner and outer dimensions of pots, which is especially important when creating pieces that need to fit together. Other helpful tools include knives for cutting clay, bats for throwing on the wheel, and specialized ribs designed by potters for specific shaping tasks. Check out this guide to see what you need to start pottery at home.
Types of Clay Suitable for Home Use
Choosing the right type of clay is crucial for successful pottery making at home. The main types of clay are earthenware, stoneware, and porcelain.
Earthenware clay is a low-fire clay, typically fired below 1,200°C (2,190°F), and is often red or brown in color. It remains somewhat porous after firing, making it suitable for tiles and flower pots. Earthenware clay is generally easier to work with and is more forgiving, making it a popular choice for beginners. Stoneware clay is a mid- to high-fire clay, fired at temperatures ranging from 2,000° to 2,400°F. It’s incredibly versatile, usually gray or brown before firing, and becomes very strong and non-porous after firing. Stoneware is perfect for functional pieces like mugs and plates. Porcelain clay is a high-fire clay known for its white color and translucency when fired. It is more challenging to work with but can produce stunning results. In addition to these, air-dry clay is a great option for beginners as it hardens naturally without the need for a kiln. To create your own, here is a guide on how to make clay for pottery at home.
Setting Up a Safe and Effective Home Pottery Studio
Creating a safe and efficient workspace is crucial for enjoying pottery at home. Proper ventilation is essential, especially when working with dry clay and glazes, as inhaling these materials can be hazardous. Install local exhaust ventilation around dust-generating activities, and ensure adequate intake of outdoor air. Wet-wipe surfaces rather than sweeping or vacuuming to avoid creating dust.
Organize your workspace to minimize physical strain. Incorporate a minimum height range of 27.6 inches and a maximum height of 56.2 inches for workstations, shelving units, and items on carts to eliminate overhead reaching and bending. Store frequently used materials at waist height rather than at floor level. For wheel throwing, provide a range of heights for pottery wheels and stools, and personalize the two heights for each user to eliminate back pain and discomfort. Good hygiene practices are also crucial for a safe studio. Don’t eat, drink, or store food in work areas, and wash your hands thoroughly before eating to prevent ingestion of contaminants. Always wear an apron and keep towels or rags handy for quick and easy clean-ups.
Firing Pottery at Home
A kiln is essential for firing pottery, transforming raw clay into durable ceramic art through high-temperature heating. However, if you don’t have access to a kiln, there are alternative firing methods you can explore. Raku firing involves a bisque fire and a large pit area to create enough heat, while pit firing, also known as smoke firing, takes place in a hole or pit. Both methods require a well-ventilated area and careful monitoring. A kitchen oven can be used as a starter equipment for experimenting, but it doesn’t reach the temperatures required for glazing.
Alternatively, you can seek out local pottery studios or community centers that offer kiln firing services. This allows you to create your pieces at home and then have them professionally fired elsewhere.
Basic Pottery Techniques for Beginners
Mastering basic pottery techniques is essential for creating beautiful and functional pieces. Centering the clay on the wheel is a fundamental skill that requires practice and patience. Start with your wheel at full speed, then shift down the gears as your pot gets bigger. Keep the clay glossy with water at all times, and remove any excess water from the base of the pot regularly.
Other essential techniques include pulling, shaping, and trimming the clay. Pulling involves raising the walls of the pot while maintaining an even thickness. Shaping involves using your hands and tools to create the desired form. Trimming is done when the clay is leather hard, using trimming tools to refine the shape and remove excess clay. Hand-building techniques like pinch pots, coil building, and slab construction are also great for beginners. Pinch pots are the simplest, made by pinching the clay into the shape of a bowl or pot. Coil building involves coiling thin strips of rolled clay on top of one another to build pots, cups, and plates. Slab construction involves rolling out clay into flat sheets that can be curved, cut, and attached together to make various forms.
Setting up a home pottery studio requires an initial investment in equipment and materials, but it opens up a world of creative possibilities. By carefully selecting the right tools, clay, and techniques, and by prioritizing safety and organization, you can create a fulfilling and enjoyable pottery practice in your own home.