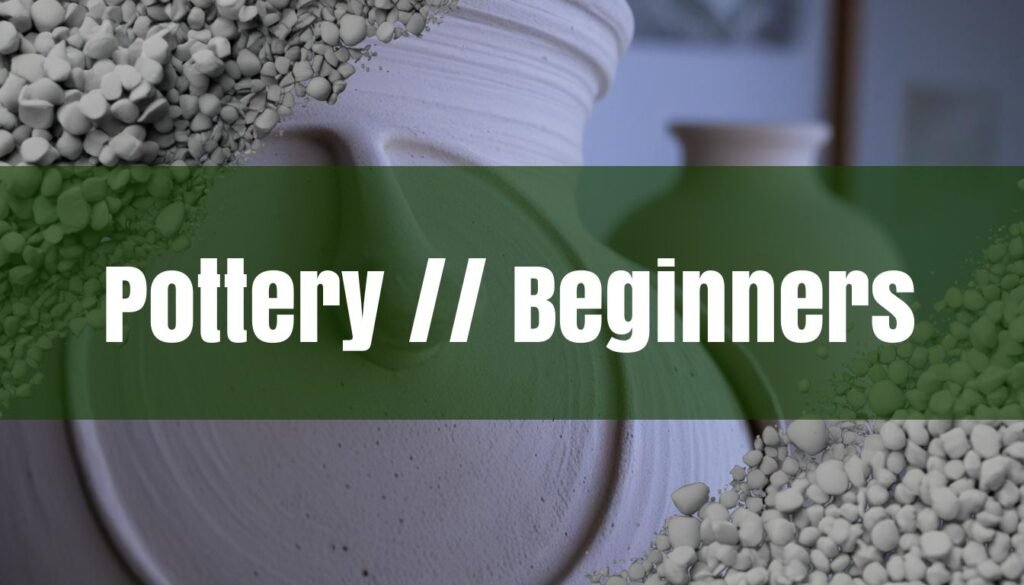
Pottery, an age-old craft, offers a unique blend of creativity and functionality, allowing you to mold simple clay into stunning works of art. For beginners, the journey into pottery might seem daunting, but with the right guidance, it can become a rewarding and therapeutic experience. This article will serve as your comprehensive guide, taking you through the essential tools and materials, basic hand-building techniques, understanding clay stages, and the fundamentals of firing and glazing.
Essential Tools and Materials
To begin your pottery adventure, gathering the right tools and materials is essential. Fortunately, starting doesn’t require a massive investment. For basic hand-building, you’ll need clay, a variety of simple tools, and a place to work. One of the first things you’ll need is clay – mid-range stoneware is very forgiving. Stoneware clay is the most versatile and easiest to work with. It comes in a variety of colors from white to dark brown. Look for clay with moderate plasticity and low-firing temperature around cone 6. For more information, see Clay Types: Earthenware, Stoneware, and Porcelain.
As for the tools: A basic pottery toolkit is invaluable for every step, including throwing, sculpting, trimming, and finishing. You can find affordable beginner kits with essential tools like a potter’s rib, steel scraper, wood modeling tool, needle tool, ribbon tool, loop tool, sponge, and wire clay cutter. These kits typically range from $9 to $50, making them accessible for beginners. A sponge is crucial for keeping your hands and work area moist. A wire cutter helps slice clay from a larger block. Wooden modeling tools are great for shaping and smoothing, while a needle tool is perfect for scoring and creating fine details. Ribbon and loop tools are ideal for carving and removing clay. A flexible ruler will help you measure your creations. For surface protection, consider a pottery foam mat (around $30 for an 18×18″ size). For a more comprehensive list, check out Pottery Tools: A Beginner’s Guide.
Hand-Building Techniques
Hand-building techniques are fundamental to pottery, especially for beginners. These methods involve shaping clay without a pottery wheel, allowing for creative freedom and a tactile connection with the material. The three basic hand-building techniques are pinch pots, coil building, and slab construction.
Pinch pots are the simplest and most intuitive method. Start with a ball of clay about the size of your fist. Push your thumb into the center, creating a well. Then, pinch and rotate the clay between your thumb and fingers, gradually thinning and raising the walls to form a small bowl or pot. The key is to apply even pressure to avoid uneven walls. Pinch pots are excellent for developing a feel for the clay and understanding how it responds to pressure. These 25 Pinch Pot Ideas for Kids will let you and your kids explore so many beautiful and creative pinch pot ideas together!
Coil building involves rolling clay into long, snake-like coils and stacking them to create a form. Start with a base, either a pinch pot or a slab of clay. Score the base and the first coil with a needle tool, then apply slip (a mixture of clay and water) to both surfaces. Attach the coil to the base, blending the edges together. Continue adding coils, one on top of the other, scoring, slipping, and blending each coil to the previous one. This bonding pinch is important because it is the fabric that holds the pot together through the stresses of drying, firing and whatever uses the pot will be put to. As you build, you can shape the coils to create various forms, from cylindrical vases to curved bowls. Coil building allows for larger and more complex forms compared to pinch pots.
Slab construction involves creating flat sheets of clay, known as slabs, and joining them together to form a structure. Roll out the clay to the desired thickness using a rolling pin or slab roller. Cut out the shapes you need for the sides, bottom, and any other components of your piece. Score and slip the edges of the slabs, then press them together to create seams. Reinforce the seams with coils of clay on the inside of the structure. Slab construction is ideal for creating geometric shapes, such as boxes, tiles, and angular vessels.
Clay Stages, Wedging, Firing and Glazing
Understanding the stages of clay is crucial for successful pottery. Clay transitions through several stages, each with unique properties that affect how it can be worked with. These stages include wet clay, leather-hard, bone dry, and bisqueware.
Wet clay is the most pliable stage, perfect for shaping and forming. It’s soft and easily molded, but also fragile. Leather-hard clay has dried slightly, making it firm enough to handle without losing its shape, but still soft enough to carve and attach pieces. Bone dry clay is completely dry and ready for firing. It’s very brittle at this stage and should be handled with care. Bisqueware is clay that has been fired once in a kiln. At this stage, the clay is hardened and ready for glazing.
Wedging is an essential process that removes air bubbles from the clay and aligns its particles, creating a consistent and workable material. There are several wedging techniques, including ram’s head wedging and spiral wedging. Ram’s head wedging involves pushing and folding the clay in a rhythmic motion, resembling the head of a ram. Spiral wedging, also known as cone wedging, involves rotating the clay in a spiral motion while pressing down to remove air pockets. Proper wedging prevents explosions during firing and ensures even drying, reducing the risk of cracking.
Firing and glazing are the final steps in the pottery process. Firing involves heating the clay in a kiln to high temperatures, transforming it into a durable ceramic material. There are different types of kilns, including electric, gas, and wood-fired kilns, each with its own characteristics and firing atmosphere. Electric kilns are most commonly used by beginners due to their ease of use and consistent temperature control. For a beginner Throwing on the Wheel, it’s best to look for strong and smooth Clay with little to no grog or sand.
Glazing involves applying a layer of vitreous substance to the bisqueware, which melts and fuses to the clay surface during a second firing, creating a decorative and functional coating. Glazes come in a wide variety of colors and finishes, from glossy to matte. Apply glaze evenly and in thin layers. It’s better to do multiple light coats than one thick coat. Beginners should start with commercially prepared glazes, which are readily available and easy to use. Always follow the manufacturer’s instructions and safety precautions when handling glazes. When firing, always follow the recommended firing temperatures for the clay and glaze you are using.
Embarking on your pottery journey is an exciting adventure. By understanding the essential tools, mastering basic hand-building techniques, and learning about clay stages, wedging, firing, and glazing, you’ll be well-equipped to create beautiful and functional ceramic pieces. Remember that mistakes are part of the learning process, and each piece you create will be a testament to your growing skills and creativity. So, gather your materials, get your hands dirty, and enjoy the process of transforming simple clay into works of art.