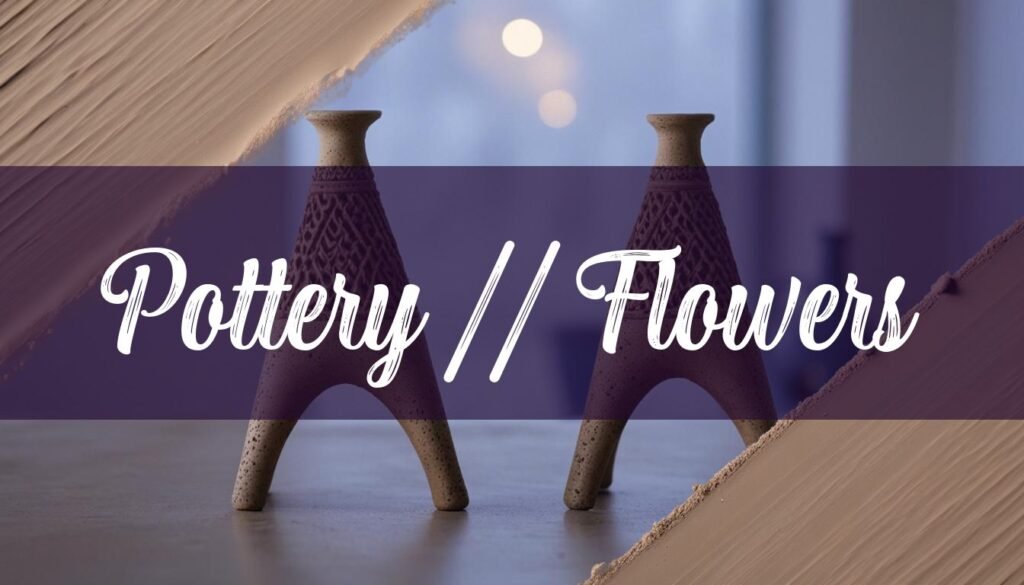
Crafting delicate pottery flowers is a rewarding experience, blending the tactile joy of working with clay with the beauty of floral design. Whether you’re aiming for realistic recreations or abstract interpretations, this guide will walk you through the essential steps to create your own ceramic blooms. From selecting the right clay to mastering the firing process, you’ll discover the techniques and tools needed to bring your floral visions to life.
Selecting the Right Clay and Gathering Tools
The first step in creating stunning pottery flowers is gathering the necessary tools and materials. Clay is the foundation of your project, and selecting the right type is crucial. Stoneware clay stands out as a versatile and user-friendly option, celebrated for its durability and strength after firing. Its non-porous nature makes it ideal for pieces intended to hold water, even without glazing. Earthenware clay, such as Terracotta, offers a rich red color and is often used for tiles and flower pots, but it requires glazing to become waterproof due to its porous nature. Porcelain clay, known for its softness and flexibility, presents a challenge for beginners due to its delicate nature, requiring significant practice to shape effectively.
Beyond clay, a variety of tools will aid in shaping and detailing your flowers. These include: Sculpting tools for shaping petals and leaves; a fettling knife for trimming excess clay; various stamps and rollers for adding texture and patterns; and brushes for applying glazes. Having these essentials at your disposal will empower you to bring your floral creations to life with precision and creativity.
Crafting Individual Components
Crafting the individual components of pottery flowers involves several techniques that allow for creativity and precision. Petals can be formed using slab construction, where clay is rolled out into flat sheets and then cut into petal shapes. These petals can then be shaped and textured to mimic the natural curves and veins of real flowers. Coil building is another method, particularly useful for creating the base of the flower or for adding dimension to petals by layering coils of clay.
Sculpting tools are essential for refining the shape of petals, leaves, and stems, allowing you to create realistic or stylized forms. Adding texture is key to achieving a lifelike appearance. Stamps and rollers with floral patterns can imprint intricate designs onto the clay. For more detailed veining, you can use a needle tool or a fine sculpting tool to etch lines into the surface of the petals and leaves. Stamens can be created by rolling small coils of clay and attaching them to the center of the flower, adding a delicate and realistic touch. You might even be interested in making mini pottery flowers. By exploring African pottery techniques, you can add new dimensions to your designs.
If you’re looking for inspiration on glazing techniques, this video from The Pottery Corner showcases some amazing Amaco combinations:
Assembling Your Pottery Flower
Assembling your pottery flower requires careful attention to ensure structural integrity and aesthetic appeal. Start by attaching the petals to the base, using scoring and slipping techniques to create a strong bond. Scoring involves making small scratches on the surfaces of the clay that will be joined, while slipping is the application of a clay slurry (a mixture of clay and water) to act as a glue. Gently press the petals onto the base, ensuring they are securely attached. Overlap the petals to create a natural, layered effect.
For flowers with multiple layers of petals, work from the innermost layer outwards, gradually building the flower’s form. Add leaves to the stem, using the same scoring and slipping techniques to attach them securely. Ensure the leaves are positioned in a way that complements the flower’s overall design. Once all the components are assembled, carefully inspect the flower for any weak points or areas that need reinforcement. Add small coils of clay to strengthen joints if necessary. Allow the assembled flower to dry slowly and evenly to prevent cracking. Covering it loosely with plastic can help maintain moisture levels during the drying process.
Firing and Glazing Techniques
The firing process is crucial for transforming your clay flower into a durable ceramic piece. Bisque firing is the first firing, which hardens the clay and makes it easier to handle for glazing. This firing is typically done at a lower temperature. After the bisque firing, you can apply glazes to add color and visual interest to your flower. Select glazes that complement your design, whether you’re aiming for realistic colors or artistic effects.
Once the glaze is dry, the flower undergoes a glaze firing at a higher temperature. This firing melts the glaze, creating a smooth, glass-like surface. Temperature control is essential during both firings to prevent cracking or warping. Follow the recommended firing schedules for your specific clay and glazes. Common issues such as cracking can often be avoided by ensuring the clay is thoroughly dry before firing and by gradually increasing and decreasing the temperature in the kiln. By carefully controlling the firing process, you can achieve professional-looking results and ensure your pottery flowers last for years to come.
Creative Display Ideas
Once your pottery flowers are fired and glazed, the fun begins with displaying them in creative ways. Floral wall art displays can transform living rooms, bedrooms, hallways, and even offices. Clusters of ceramic flowers can serve as eye-catching centerpieces above sofas or mantelpieces. In bedrooms, these flowers can create a serene atmosphere when hung above the bed. Hallways can be enlivened with a series of ceramic flowers lining the walls, turning a mundane space into an artistic path.
In offices, these flowers bring nature indoors, adding charm and calm to the workspace. Pottery flowers can also be incorporated into gardens, adding a touch of elegance and sophistication to outdoor spaces. Whether displayed individually or in groups, pottery flowers offer endless possibilities for enhancing your home decor and garden design.


