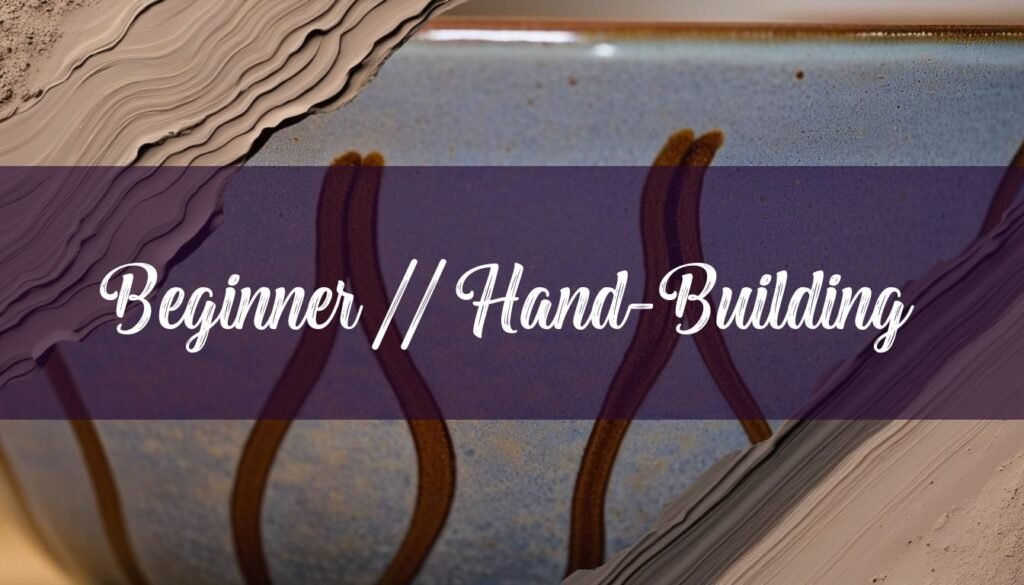
Pottery, the art of shaping clay into beautiful and functional objects, is a craft that has captivated humans for millennia. If you’re drawn to the tactile nature of clay and the satisfaction of creating something with your own hands, this guide is for you. We’ll explore beginner-friendly hand-building techniques that don’t require a pottery wheel, focusing on pinch pots, coil pots, and slab construction. We’ll also discuss essential tools, materials, and firing options, arming you with the knowledge to start your pottery journey at home.
Choosing Your Clay and Gathering Your Tools
The first step is selecting the right clay for your project. There are several types of clay, each with its own unique properties and ideal applications. Earthenware clay is a popular choice for beginners because it’s generally easier to work with and more forgiving. It fires at a lower temperature, typically between 950°C and 1,100°C (or 1,745°F and 2,012°F), and is known for its rich, warm colors. However, earthenware is more porous and fragile than other types of pottery once fired, and may require glazing to be waterproof. You might be interested in what type of clay is used for ceramics to help guide your decision.
Stoneware clay is another versatile option, known for its durability and high firing temperatures, typically between 1000°C and 1380°C. Stoneware is a dense, strong, and impermeable clay when fired, making it suitable for functional pieces like dinnerware and vases. Porcelain clay is often used to create fine china, sculptures, and high-end pottery, creating delicate, translucent pieces with a polished finish, but it is difficult to work with and prone to warping and cracking. Air-dry clay is a great option for those without access to a kiln as it hardens naturally in the air without firing.
Beyond clay, you’ll need a few essential tools. A basic pottery tool kit typically includes items like ribs (for shaping and smoothing), fettling knives (for trimming and carving), clay cutters (wire tools for cutting clay), scrapers (for removing clay), sponges (for smoothing and adding texture), needle tools (for etching and piercing), ribbon and loop tools (for removing clay and creating details), and wooden modeling tools. You’ll also want an apron to protect your clothes, a bucket of water, and a smooth work surface. Be sure to check out this guide to essential pottery tools, for an in-depth guide.
Mastering Hand-Building Techniques
With your clay and tools ready, it’s time to dive into the three fundamental hand-building techniques: pinch pots, coil pots, and slab construction.
Pinch pots are the simplest and most direct way to create a small vessel. Start with a ball of clay about the size of your fist. Insert your thumb into the center and gently pinch and rotate the clay between your thumb and fingers to create a hollow. The goal is to gradually thin the walls and raise the height of the pot while maintaining an even thickness. Don’t be afraid to experiment with different shapes and sizes. Remember, practice makes perfect.
Coil pots involve building up the walls of a vessel by layering coils of clay. Start by rolling out long, even coils of clay, either between your hands or on a work surface. Score and slip (apply a watered-down clay mixture) to attach the coils to each other, building the walls gradually. As you add coils, pinch and blend them together to create a seamless surface. This technique allows for creating larger and more complex forms. The bonding pinch is an essential coil pottery technique. It is the pinch used to bond the coil to the wall of the pot, holding the pot together through drying, firing and use.
Slab construction involves creating forms from flat slabs of clay. Roll out the clay to your desired thickness using a rolling pin or slab roller. Cut out the shapes you need and join them together using the score and slip method. This technique is ideal for creating angular or geometric forms. Slabs can be draped over molds or supported with internal structures to create unique shapes.
Drying, Firing, and Glazing
Once you’ve shaped your pottery, it needs to dry slowly and evenly to prevent cracking. Cover the piece with plastic for at least the first day to slow down the initial drying process. As the clay dries, it will shrink, so it’s important to avoid drafts and direct sunlight. Once the piece is bone dry (completely dry to the touch), it’s ready for firing.
Firing transforms the clay from a fragile, workable material into a durable, permanent form. The most common method is firing in a kiln, a high-temperature oven specifically designed for ceramics. Earthenware clay is typically fired at a lower temperature than stoneware or porcelain. If you don’t have access to a kiln, alternative firing methods like pit firing can be explored, though these methods often yield less predictable results.
Glazing is the process of applying a decorative and protective coating to your pottery. Glazes are essentially a mixture of powdered minerals that melt and fuse to the clay surface during firing. There are various glazing techniques, including dipping, brushing, spraying, splattering, stippling, sponging, glaze trailing, and wax resist. Dipping is a popular and easy technique that involves submerging the piece into the glaze, while brushing allows for more control over application and decorative effects. The main purpose of the wax resist technique is to repel glazes and underglazes, so if you apply wax resist to an area, the glaze won’t adhere to it. Always follow the glaze manufacturer’s instructions and safety precautions, as some glazes can contain harmful chemicals.
Troubleshooting Common Pottery Problems
Even with careful planning and execution, pottery making can present challenges. Cracking is a common issue, often caused by uneven drying or stress during construction. Make sure to compress the bottom and rim throughout, making your pottery. Warping can occur during firing if the piece is not properly supported or if the kiln temperature is uneven. Glaze defects, such as crawling (where the glaze pulls away from the surface) or pinholes (small holes in the glaze), can be caused by improper glaze application, dust contamination, or firing issues.
Keeping good records is very important as it can help you troubleshoot as you experiment and work through learning the materials and processes involved with creating your pottery pieces.
Embrace the Journey
Making pottery is a journey of exploration and discovery. Don’t be discouraged by mistakes, as they are valuable learning opportunities. Experiment with different clays, techniques, and glazes to find your own unique style. Most importantly, enjoy the process of creating something beautiful and functional with your own two hands. The world of pottery is vast and rewarding, and with a little patience and practice, you’ll be crafting stunning ceramic pieces in no time.