Embarking on the journey of pottery is an exciting adventure, filled with the promise of creating beautiful and functional art from a humble lump of clay. Pottery classes are the perfect place to start, offering guidance, equipment, and a supportive community. Let’s explore some fantastic beginner-friendly projects that will have you crafting impressive pieces in no time. Clay is amazing and can be shaped into anything, and it doesn’t matter if you are an experienced artist or a beginner, you’ll find something you’ll like.
First and foremost, understanding the basics is key. Before diving into projects, your instructor will guide you through essential techniques such as wedging, which involves kneading the clay to remove air pockets and create a uniform consistency. This step is crucial to prevent cracks and explosions during firing. You’ll also learn how to center the clay on the pottery wheel, a fundamental skill that requires patience and practice. Remember, centering doesn’t need a lot of strength, just proper positioning technique. It might feel like a battle at first, but with consistent practice, it will become second nature. Once you’ve mastered these initial steps, you’ll be ready to explore various hand-building techniques and wheel-throwing projects. Read up on centering clay, a potters guide.
Hand-Building Projects
Hand-building is a wonderful way to get acquainted with clay without the need for a pottery wheel. Three popular hand-building methods are pinch pots, coil pots, and slab construction. Pinch pots are perhaps the simplest and most intuitive method, involving shaping a ball of clay using your fingers to create a small bowl or vessel. This technique is excellent for kids and beginners alike, allowing you to explore different forms and textures. Pinch pots have come a LONG way and you and your kids can explore so many beautiful and creative ideas together! Coil pottery involves rolling clay into long, snake-like coils and layering them to build up the walls of your piece. This method is fantastic for creating larger and more intricate forms, such as vases or planters. Slab construction, on the other hand, uses flat sheets of clay, rolled out with a slab roller or rolling pin, which are then cut and assembled to create various shapes. This technique is ideal for creating geometric forms like boxes, trays, or even cube-shaped coffee pots! These techniques are also very useful for making pendants or ceramic rings to wear.
With these hand-building techniques, the possibilities are endless. Simple bowls are a classic starting point, allowing you to experiment with different shapes and surface decorations. Mugs are another popular choice, where you can get creative with handles and surface designs. Other great beginner-friendly projects include jewelry dishes, soap dishes, spoon rests, and coasters. These smaller items are quick to make and offer opportunities to practice various techniques, from simple shaping to adding textures and patterns using stamps and rollers.
Wheel-Throwing Projects
Once you’re comfortable with hand-building, you might want to try your hand at wheel throwing. This technique involves shaping clay on a spinning pottery wheel, allowing you to create symmetrical and functional forms. Egg cups are often made by beginners as they’re a great introduction to wheel throwing techniques. A basic bowl is a great first project on the wheel, helping you learn how to pull up the walls of the clay and create a simple form. As you gain confidence, you can move on to more challenging projects like mugs, vases, and planters. Remember to keep your fingers firm and consistent, applying even pressure while pulling up the walls. With the pottery wheel you can make mugs, bowls, plates, vases, jars, teapots, and other round items.
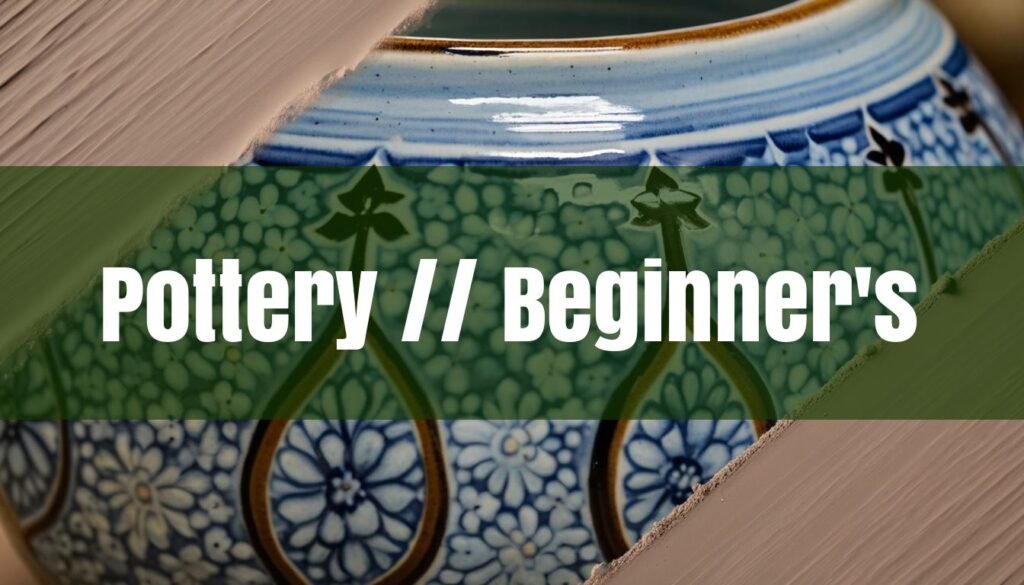
Glazing and Firing
After you’ve created your masterpiece, the next step is glazing and firing. Glazing involves applying a liquid coating of glass-forming materials to the pottery, which melts and fuses to the surface during firing, creating a smooth, durable, and often colorful finish. Glaze is like paint that gives ceramics a smooth, glass-like surface. Your instructor will guide you through the process of selecting appropriate glazes and applying them evenly to your pieces. Firing is the final step, where the pottery is heated to high temperatures in a kiln, causing the clay to harden and the glaze to melt. Understanding firing temperatures is crucial, and it’s always a good idea to test your glaze on a sample piece to see how it reacts during firing.
The entire process, from creating the piece to the final firing, can take several weeks. Expect a minimum of 6 weeks after the class date for finishing before work can be taken home. Pottery classes are typically 2-3 hours long, giving you ample time to work on your projects and learn new techniques. Remember that mistakes are inevitable and are valuable opportunities to learn and grow. So, embrace the wobbles, celebrate the triumphs, and most importantly, enjoy the process of creating with clay!