
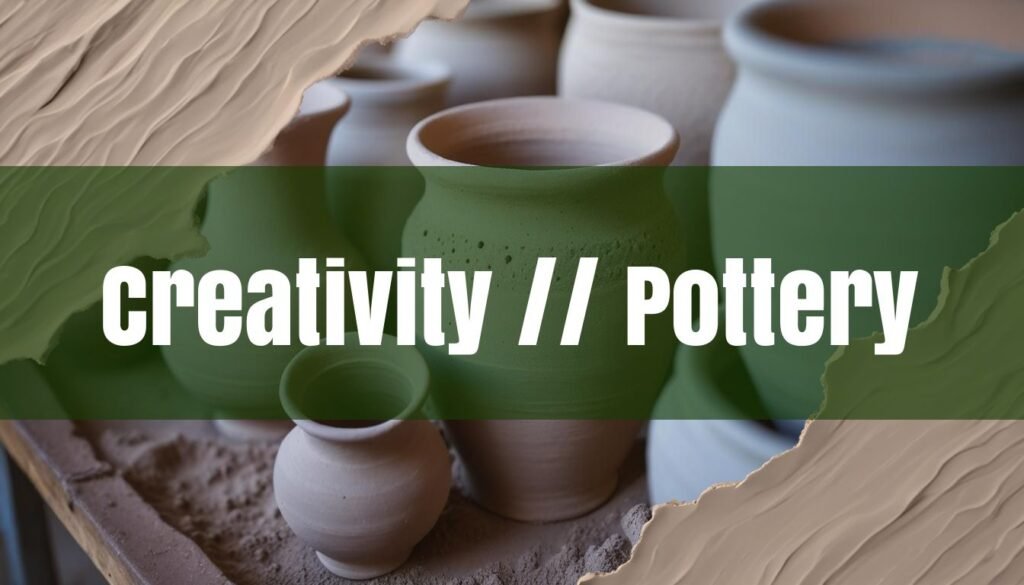
What to make with pottery clay opens a world of creative possibilities, blending artistic expression with functional design. Whether you’re a beginner or an experienced potter, the journey of transforming a lump of clay into a unique piece is both rewarding and deeply satisfying. Pottery isn’t just about crafting objects; it’s about connecting with the earth, exploring textures, and bringing your imagination to life through a tangible medium. This article will guide you through various projects suitable for pottery clay, highlighting essential techniques and providing inspiration for your next ceramic adventure.
Basic Pottery Projects for Beginners
For those new to pottery, starting with simple projects is key to building confidence and mastering fundamental skills. Hand-building techniques are particularly accessible, requiring minimal tools and allowing for direct manipulation of the clay. Pinch pots are an excellent starting point. By simply pressing your thumb into a ball of clay and pinching the walls to create a small vessel, you can quickly form a basic bowl shape. This method helps develop a feel for the clay’s texture and responsiveness.
Coil building is another beginner-friendly technique that involves rolling clay into long, rope-like coils and stacking them to create larger forms. This method is ideal for making bowls, vases, and planters, allowing you to control the shape and size of your piece as you build. Slab construction is perfect for creating geometric shapes and flat surfaces. By rolling out clay into even slabs, you can cut and assemble them to form boxes, tiles, and decorative panels. These hand-building methods offer a fantastic way to explore the versatility of clay and create functional and decorative items. For more advanced techniques, you might consider mastering altered forms.
Once you’ve mastered these basic techniques, you can start experimenting with more complex designs. Simple bowls and mugs are excellent projects for refining your skills on the pottery wheel. Planters, soap dishes, spoon rests, and jewelry dishes are also great options, offering opportunities to practice different shaping and decorating techniques. Decorative objects like ornaments, small sculptures, and clay beads allow for creative expression and personalization. These projects not only enhance your pottery skills but also provide a sense of accomplishment as you create beautiful and functional items from a simple ball of clay.
Selecting the Right Clay and Preparing for Success
Choosing the right type of clay is crucial for the success of your pottery projects. There are several main types of clay, each with unique properties and best uses. Earthenware clay is a popular choice for beginners due to its forgiving nature and ease of use. It fires at lower temperatures, resulting in porous and vibrant pieces, making it ideal for decorative items and terracotta pots. Stoneware clay, known for its durability and versatility, fires at higher temperatures and produces strong, resilient pieces suitable for functional items like dinnerware and vases. Porcelain clay, prized for its delicate appearance and translucency, requires more skill and experience due to its fine texture and challenging workability.
Proper preparation of your clay is essential for achieving successful outcomes. Wedging, also known as kneading, is a critical step in removing air bubbles and achieving a consistent clay texture. This process involves repeatedly pressing and folding the clay to create a homogeneous mass, ensuring that it is pliable and free of air pockets that can cause cracking or explosions during firing. There are various wedging techniques, including ram’s head wedging and spiral wedging, each designed to effectively remove air and create a smooth, workable clay body. You can further refine your process by mastering storage and aging for pottery.
After forming your pottery piece, it’s important to dry it slowly and evenly to prevent cracking. Covering the piece with plastic or wrapping it in damp cloths can help control the drying process, allowing the clay to gradually release moisture. Once the piece is completely dry, it’s ready for bisque firing, an initial firing at a lower temperature to harden the clay and prepare it for glazing. Bisque-fired ware is porous, which makes it better able to absorb glazes, enhancing the final appearance and durability of your pottery.
Firing and Glazing Techniques
Firing is a critical stage in pottery, transforming soft clay into durable ceramic pieces through the application of heat. The firing process vitrifies, or glassifies, the pottery, making it strong and impermeable. Different clays and glazes mature at specific temperatures, and any variance can lead to unsatisfactory results in ceramic durability or color. Earthenware, a common low-fire clay body, reaches optimum hardness between 1745℉ (950℃) and 2012℉ (1100℃). Mid-range materials require a firing temperature between 2124℉ and 2264℉ (1162-1240℃), while high-fire stoneware is typically fired at 2381℉ (1305℃). Porcelain, similar to high-fire stoneware, is best fired between 2381℉ and 2455℉ (1305℃ and 1346℃).
Glazing adds color, texture, and a protective coating to pottery, enhancing its aesthetic appeal and functionality. There are various glazing techniques, including dipping, pouring, brushing, spraying, and sponging, each offering unique effects and textures. Dipping is the easiest way to cover pottery, providing a smooth look and fine texture, while pouring involves flowing the glaze over the piece to create an even layer. Brushing can be used as both a base layer and for decorating, and spraying is best for laying down a precise base layer.
Decorative techniques like splattering, stippling, and glaze trailing allow for creative expression and personalization. Splattering involves flicking glaze onto the piece for an abstract texture, while stippling uses the tip of a soft brush to create a shading effect. Glaze trailing involves drawing glaze-on-glaze or glaze-on-clay designs, adding intricate details to your pottery. The wax resist technique is used to repel glazes and underglazes, creating unique patterns and designs by preventing glaze from adhering to specific areas. Mastering these glazing techniques allows you to add vibrant colors, textures, and protective coatings to your pottery, transforming each piece into a unique work of art.


