Carving and incising are wonderful ways to add depth, texture, and unique character to your pottery. It’s like giving your clay creations a personal signature! Whether you’re a beginner just discovering the joy of shaping clay or an experienced potter looking to refine your techniques, understanding the tools, methods, and the crucial role of moisture levels can truly elevate your work. Here’s a guide to incising techniques.
Let’s talk tools. Think of them as extensions of your artistic intentions. Loop tools are great for hollowing out larger areas, helping you define the form of your piece. Ribbon tools, with their flat metal loops, are perfect for more detailed carving and trimming, allowing you to remove just the right amount of clay to bring your vision to life. Don’t forget the simple yet essential wooden rib tools for shaping and smoothing – they help create those crisp lines and gentle curves that make a piece feel just right. Then you have wire cutters for clean separations, needle tools for marking and fine detailing, and calipers for ensuring precise measurements, especially when you’re aiming for uniformity in sets. A good sponge is also crucial for smoothing and maintaining the moisture content of your clay as you work. As you advance, you might explore specialty carving tools like the P4 Teardrop Fluting Tool for creating those elegant, fluted grooves and tungsten carbide tools for their exceptional durability, though remember they require a gentle touch. Many potters also cherish handcrafted tools for their unique qualities and superior performance.
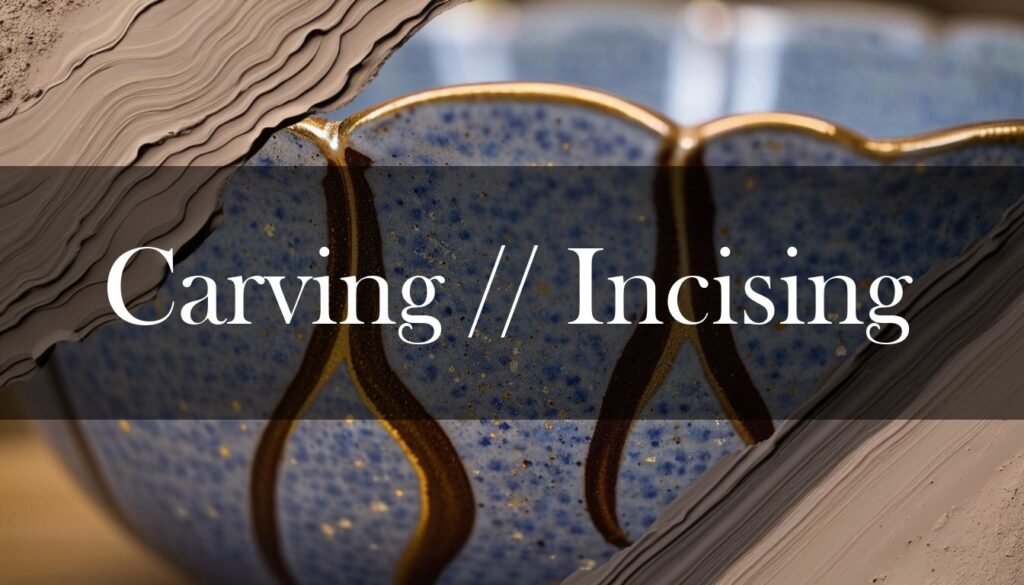
When it comes to carving techniques, there are several to explore. Subtractive carving involves removing clay to create your design, perfect for when you want to make a statement by taking away. Relief carving is where you raise the design above the background, giving a wonderful three-dimensional effect that catches the eye. And then there’s sgraffito, a technique where you scratch through layers of slip or glaze to reveal the clay beneath, creating a beautiful contrast. Don’t overlook slip trailing for adding raised details or stamping to impress patterns onto the clay.
“One of the secrets to successful carving lies in the moisture level of your clay.”
Carving is best done when the clay is leather-hard – that sweet spot where it’s firm enough to hold its shape but still soft enough to carve cleanly. Too wet, and the clay will be mushy and lose detail; too dry, and it’ll crumble. To maintain the ideal moisture, try drying your piece on a plaster slab to ensure even drying and storing it in a damp box to prevent it from drying out too quickly. Remember, your environment plays a big role too; adjust your drying times based on the humidity and temperature of your studio.
Finally, let’s talk about design motifs. These can range from geometric patterns that create a sense of order and harmony to floral and faunal motifs that connect your work to the natural world. Look to Chinese ceramics for dragons symbolizing power, Japanese ceramics for symbols of endurance, or African ceramics for bold patterns that reflect community values. Don’t forget that the incorporation of symbols in your designs can communicate ideas and beliefs.
Once you’ve carved your masterpiece, protect it with techniques like burnishing for a smooth finish, wax resist to highlight your designs, or varnishing for added durability. There are even eco-friendly options like beeswax for a natural touch. The firing process itself also plays a crucial role in the final look and feel of your carved pottery. Whether you choose a low-temperature firing to preserve delicate details or a high-temperature firing for added strength, each decision contributes to the unique character of your piece. You may also want to add color using underglaze.